Monday, April 20, 2015

Pop Art Flowers

These hand drawn flowers by my 3rd graders are done in the pop art style.  The thick black lines were done with black sharpie and the bright, bold colors were done in marker.

We began in the middle of the paper drawing in sharpie, making each line thick!  I asked students to "cluster" their flowers, showing me some overlapping.  They did some experimenting with the markers and blending of colors with this medium.


Molas

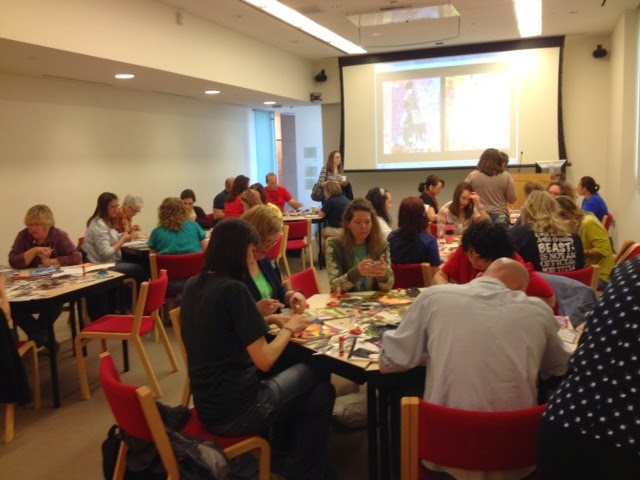
I have this wonderful mola in my classroom that I show students before we began this lesson.  I got it for $1 at a garage sale.  I don't think they really knew what it was, or the value of it.  I told students that the layers of colored fabric were all hand stitched by the Kuna Indians of the San Blas Islands off Panama.  We viewed a quick video which I found on you tube.  This is the one we watched; you can see it HERE.

Here is the beautiful mola in my art room.


Here are the steps for creating these molas.

Materials
9 x 12 black paper
9 x 12 white paper
markers/glue/scissors
Crayola woodless colored pencils (you could use any medium for the background)
embroidery thread/needles/needle threader/tape

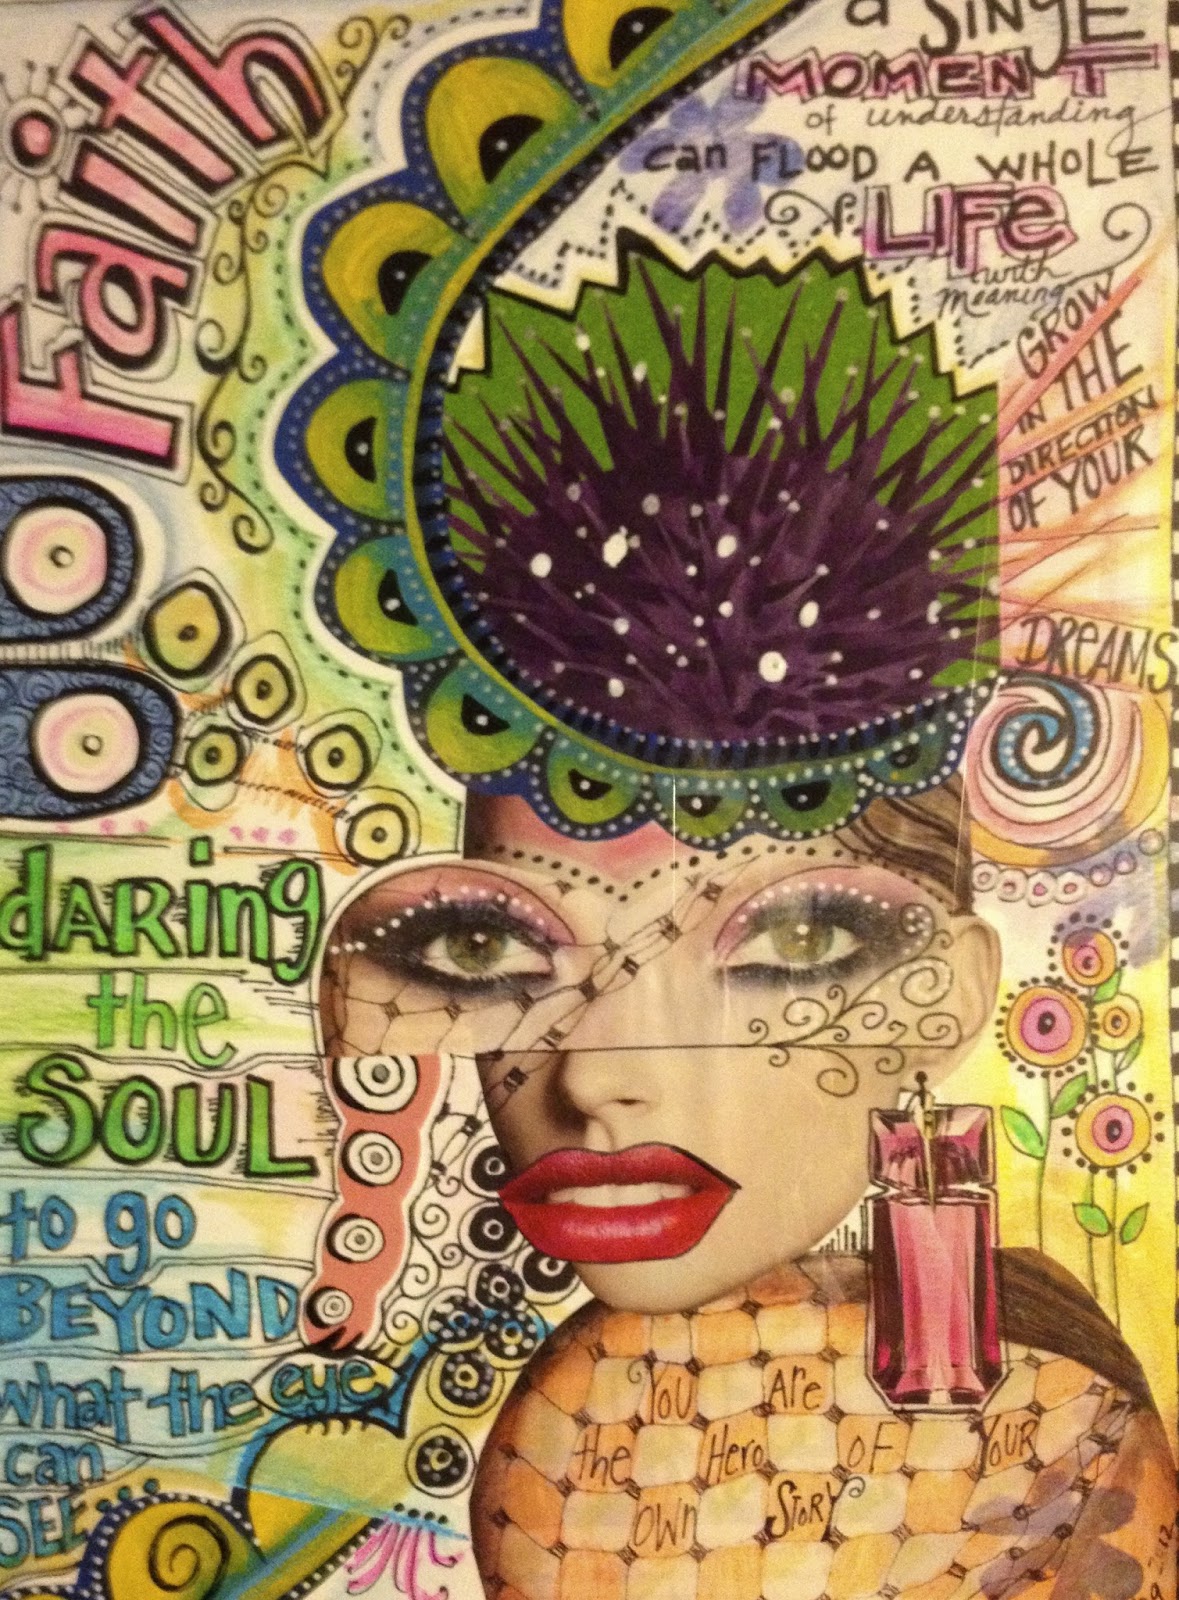
1.  On the white 9 x 12 paper draw an image for your mola.  We viewed and talked about the images the Kuna Indians used, which come mostly from nature.  I let students pick any image they wanted for their molas and I got some interesting ideas.  Animals, flowers, small creatures, monsters, etc.
2.  Once drawn in pencil, students used markers to create the layers of color.
3.  These were then cut out and glued to the black paper.
4.  We used Crayola woodless colored pencils to add a repetitive background.
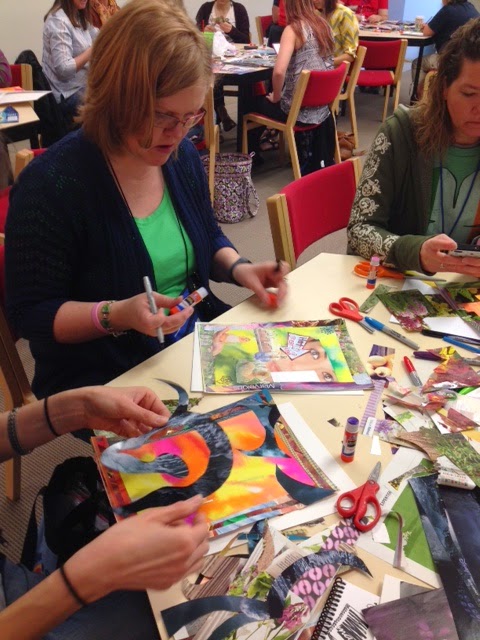
5.  I showed students a simple running stitch to stitch around the image.  This gave them an idea of how long it would have taken for a mola to be created.  I used a needle threader as students were not very good at threading.  I also showed them how to pre-punch their holes into the black paper so the stitching would be more even.  They really enjoyed the sewing part....even the boys!  Here is one student threading her needle.


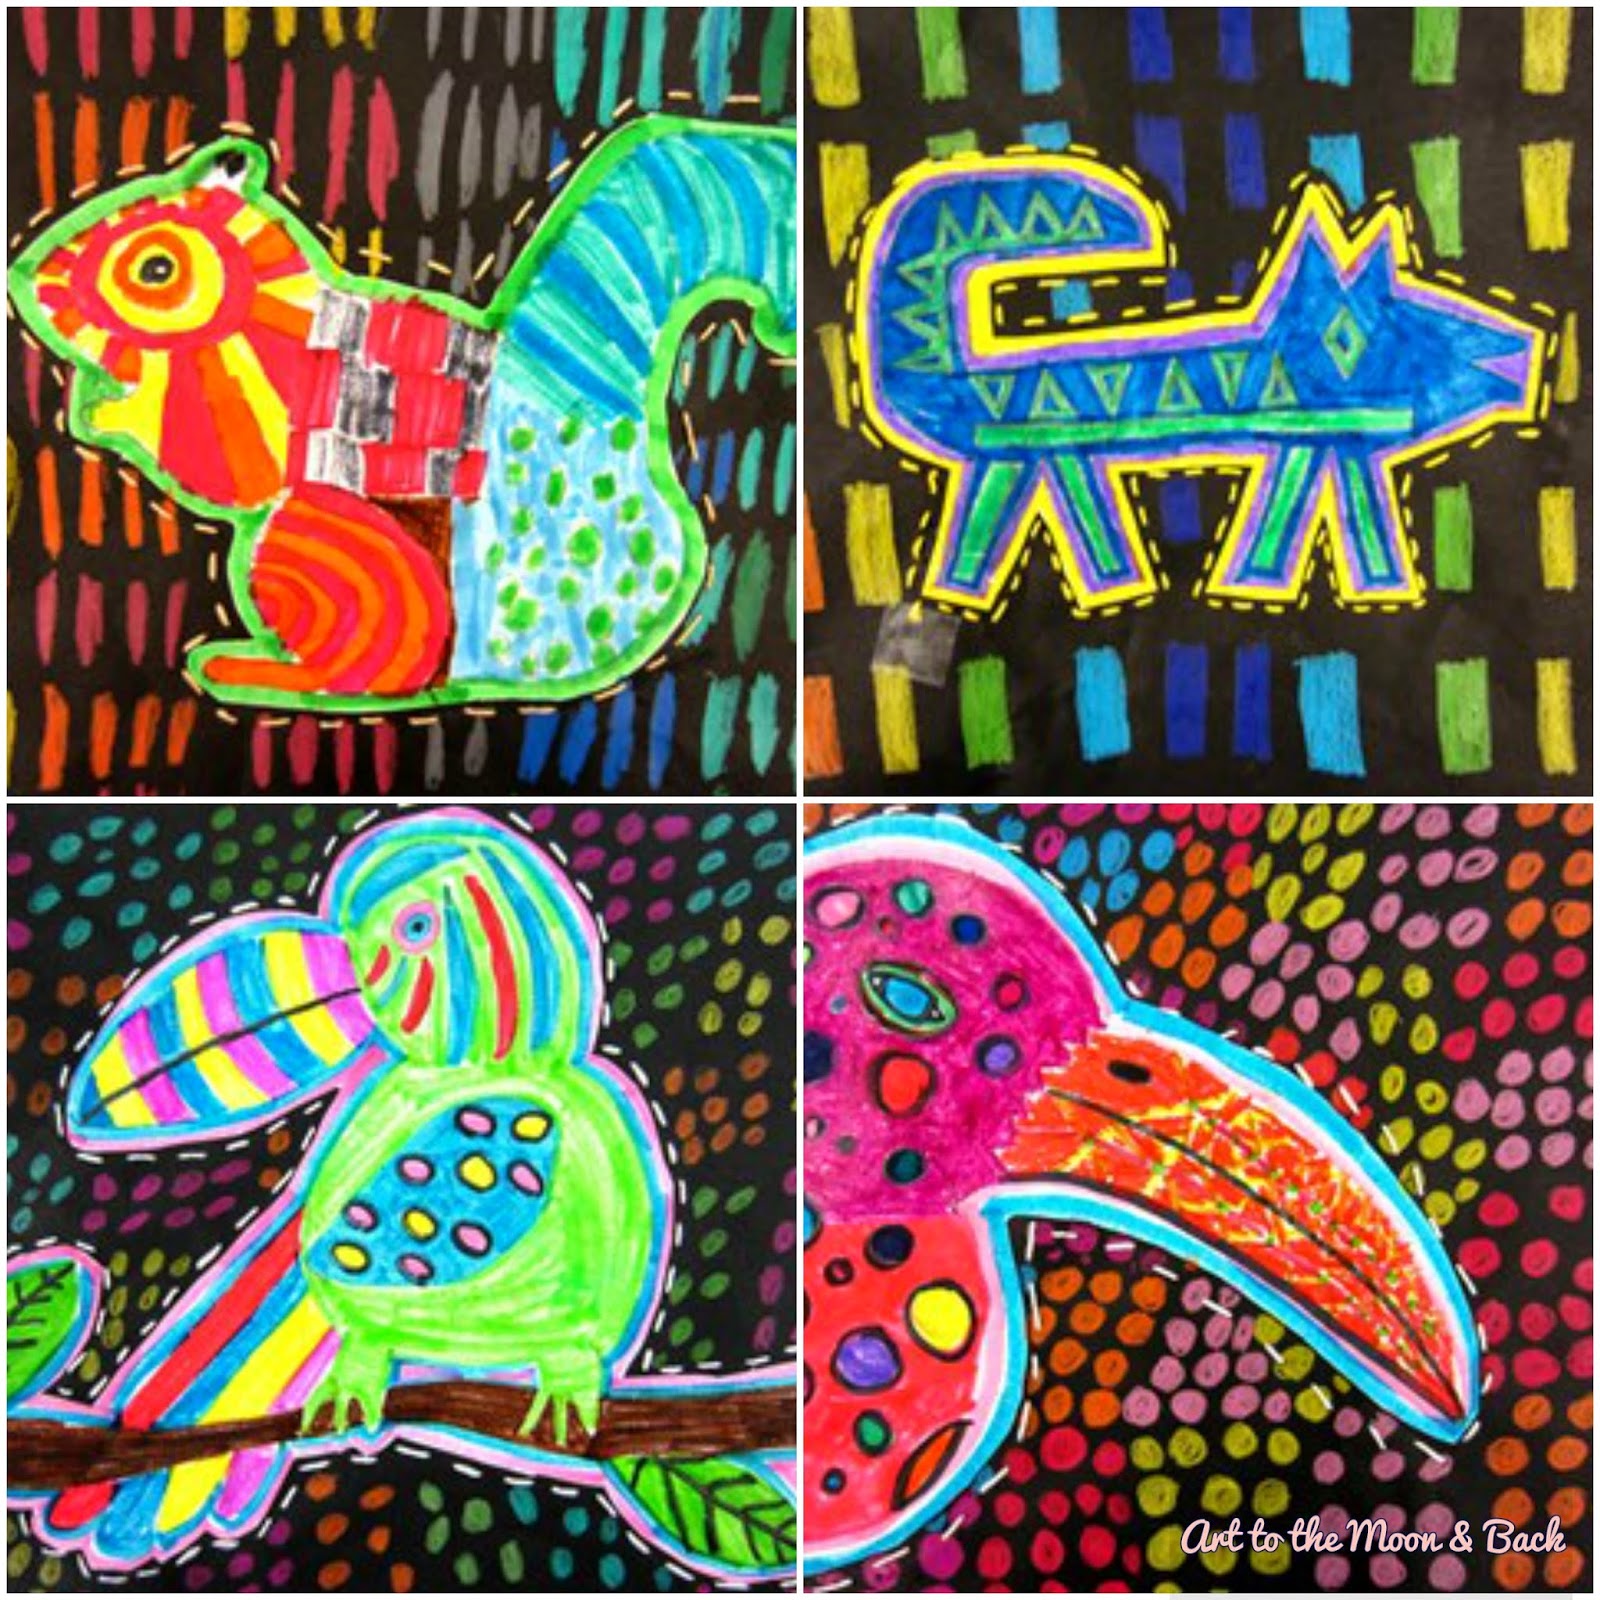
And....here are some finished molas by my 5th graders.


Monday, April 13, 2015

Worry Dolls

The Legend of the Worry Doll

Worry dolls are tiny handmade dolls created by the people of Guatemala as a remedy for worrying. According to Mayan legend, you tell your worry doll all your worries before bedtime and you are able to sleep peacefully at night.  The dolls take away all your worries during the night!

I found a great book called "Silly Billy" by Anthony Brown which is about the legend of the worry dolls.  I used this as a resource before watching the video demonstration.

Here are the supplies you need to create a worry doll.  This lesson would work for 2-6th graders and older!  I had fun making mine!!

1 full length pipe cleaner (any color)
1 pipe cleaner, cut in half (any color)
5-6 pieces of yarn 6" long (for the hair)
a ball of yarn about 3 yards long
wiggly eyes (optional)
fabric, felt, for clothing


Collaborative Art

Sixth graders each painted a 7" x 7" square at the end of their color unit trying to match colors as closely as possible.  They knew each square was a piece of the puzzle for Munch's "The Scream".

I cut each square out and laminated it, so it would last through the painting process.  Each card was numbered at the top so it would be easy to put together.


Here is the finished 5' x 7' art.  We plan on hanging this from our basketball headboard during our art show in May for some photo fun!  Nice job 6th graders!


Sunday, April 12, 2015

MAEA

Our state art educator's convention was held this weekend.  It was a fun filled 3 days in Kansas City.  The Nelson Art Museum, The Kansas City Art Institute and the Plaza Marriott hosted over 400 art educators from the fine state of Missouri.  I  had some great times connecting, attended some great workshops as well as a really fancy reception in Kirkwood Hall at the Nelson Art Gallery!   Here are some of the pics of our beautiful city and the fun!


Fun at the Gala on Friday night at the Nelson!


I also got to present a workshop and it was a packed room......even had teachers sitting on the floor!  My presentation was on the "Art of Collage".  Some really talented art educators out there!  It was tons of fun! 


Thursday, April 9, 2015

Collage in the Style of Teesha Moore

Teaching students how to compose a piece of art with images and other materials can be challenging to say the least.  They usually want to apply everything to their collage.....and I do mean everything they have access to!   Being selective and giving them steps to create an interesting finished piece is the key!

I recently showed them a powerpoint I created with the work of artist Teesha Moore (with her permission of course to reproduce her images for teaching purposes).   You can check it out HERE.

I created this step by step lesson when I was first diagnosed with breast cancer in 2007.  After missing a half year of school with treatments, I ran across Teesha Moore on pinterest.  I loved her work and began a collage of my own.  It was truly healing!  This one was called "Faith".


I did not do much with the idea for a lesson, until I was diagnosed a second time with breast cancer.  After my double mastectomy and missing yet another half a year in 2011, I was feeling pretty low.
I began my second collage titled,  "Some Days You Just Have to Get Over It!"  Doing this piece finally got me out of my funk and looking forward. 

Not only can this lesson incorporate literacy and writing, it can also give you a chance to talk to students about why people create art and how it makes them feel.  Here is my second collage in the style of Teesha Moore.


I got a wonderful email from Teesha when I wrote to ask permission to use her images for my powerpoint!  So... I decided to create this lesson for my sixth graders.

Teesha Moore artgirl777@aol.com

12/29/14
to me
of course it is ok.  thanks for asking but I am thrilled to know that the creativity is being spread around.  thanks for everything you do to help these kids get more in touch with their creative sides.


Click HERE to find the pdf for the lesson plan and a document for ideas for motivational ideas.  You can also find the steps on the power point above.   You can also find this lesson on my webpage  HERE.  Look for student work to come.

Tuesday, April 7, 2015

Galler Flowers

After looking at the floral work by artist Heather Galler, (you can find her work HERE), students created a container and painted circles for the flowers in paint to get the background colors in.  They used oil pastels on top of the Alpha Biggie Tempera paint to create all the details.  I just love using these two mediums together.  Take a look at our results!  I got some interesting containers!


Thursday, April 2, 2015

Giraffes

My students drew along with me for the basic shapes of the giraffe and we focused on hot and cool colors when we painted.  Using watercolors, 1st graders painted the giraffe in yellows, oranges, and reds.  They used the cool colors of blue, green and violet on a light blue piece of construction paper and painted a simple design for the background.  We used the Alpha Biggie Tempera cakes to paint the background because the paint is more intense on the colored paper.  We cut out the giraffes and glued them to the background.  We have been working really hard at drawing and painting all kinds of animals!  I love the expressions on these!