Second graders giggled and laughed when I showed them several of Picasso's portraits. After explaining to them that he used multiple viewpoints in his paintings (front views, side views, 3/4 views) they went to town painting their own portraits using colored construction paper. Here are the basic steps.
1. Have each student choose 3 different colors of 6" x 9" construction paper. Have them draw a large oval (making sure the oval touches all four sides) on one color and a hill shape on another (making sure the hill shape touches the corners). Cut out the oval by stacking it on top of the third color so that you have two ovals.
2. On one of the ovals draw a profile or side view of a face.
3. Cut the profile out and glue it to the oval. Use the scrap piece for the neck. I usually tell students to cut that long piece in half for the neck.
4. This is the basic portrait face with two viewpoints (front and side view)
5. Use the scraps at everyone's table to start adding eyes, mouths, hair, and other details. I use Elmer's glue the first class session, and glue stick the second class session because we outline with black markers and I don't want them ruined with white glue. After the first 40 minutes students will have a good start on the details.
Here are the Picasso Portraits in progress.
Then students begin outlining and adding more details with the black marker.
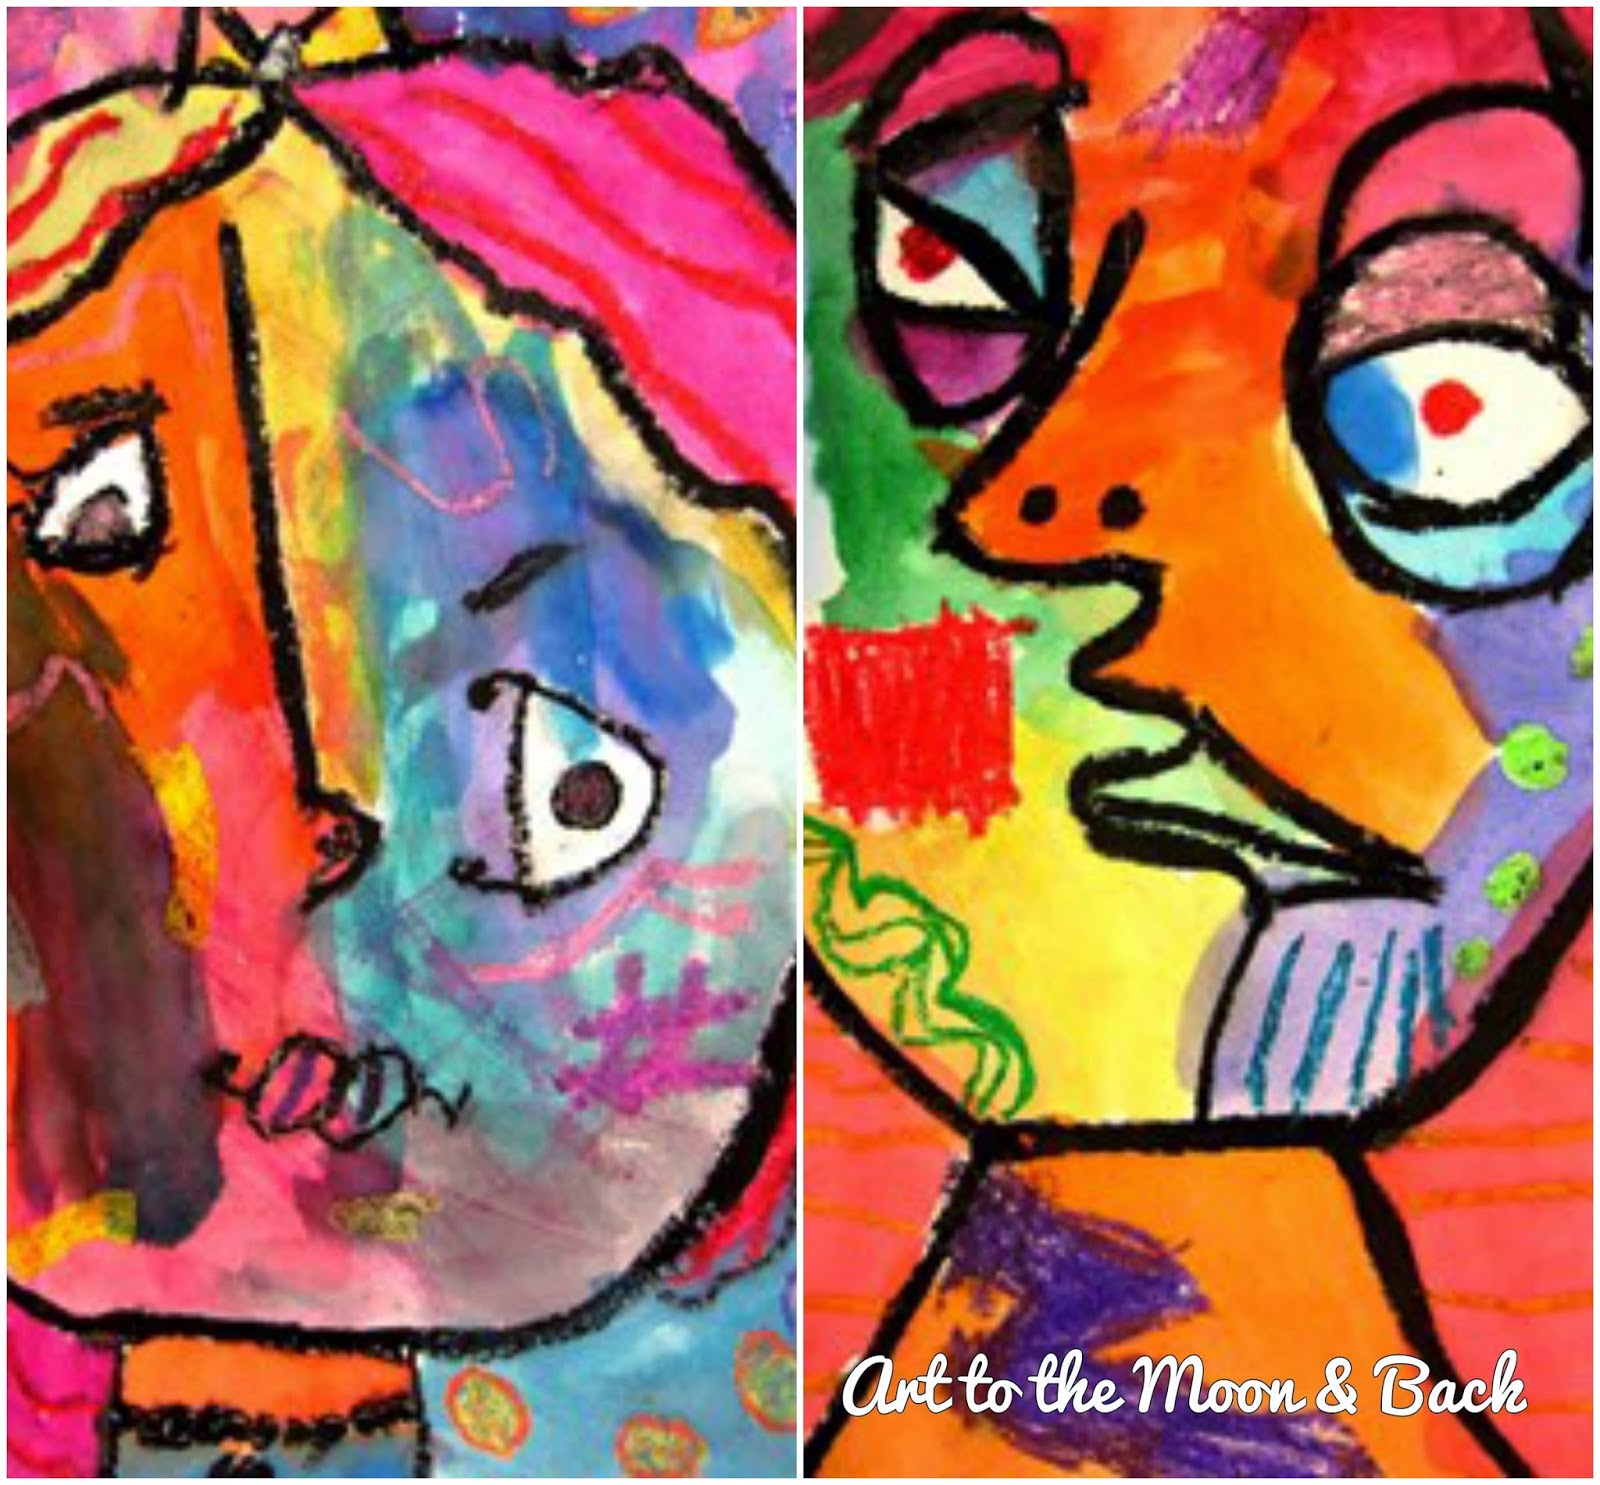
I got some pretty interesting results!


.JPG)


.JPG)
%2B-%2BCopy.JPG)
.JPG)


%2B-%2BCopy.JPG)
.JPG)


